online training
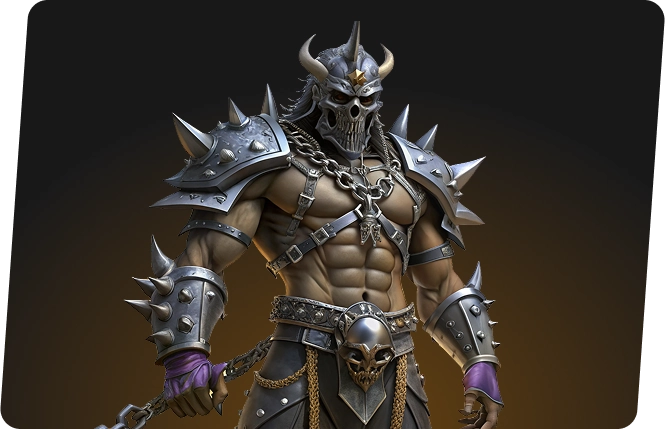
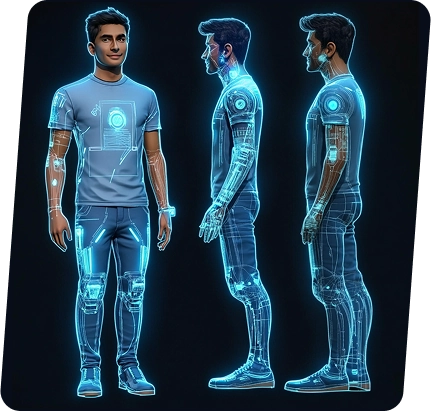
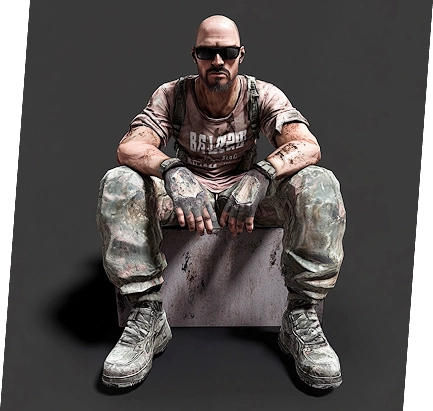
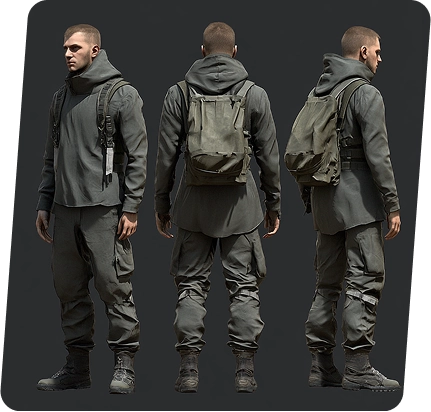
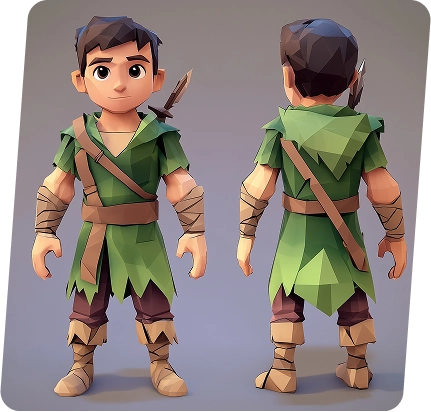
3D Modeling Game
Characters in ZBrush
Characters in ZBrush
Immerse yourself in the world of professional 3D modeling and create unique game characters from scratch!
Enroll Now
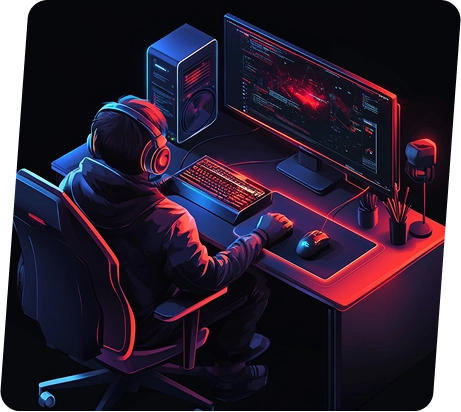
Online format
Training from practitioners
Practice assignments
Certificate